A blood pressure cuff is a medical device that is used to measure a person’s blood pressure. It works by applying pressure to the arteries in the arm and provides medical professionals with an indication of a person’s blood pressure and heart health.
In this guide to correctly using a blood pressure cuff, we will introduce the simple steps required to correctly fit a blood pressure cuff and take your blood pressure reading.
If you are seeking to measure your blood pressure at home without the assistance of a medical professional, this guide can help you obtain the most accurate reading.
In addition, there is no need to worry about complicated readings as blood pressure machines are designed to be simple to use in both clinical and home settings.
Average Blood Pressure

The level of your blood pressure determines what kind of treatment you may need.
Blood Pressure readings are broken into four main categories:
-
Normal
A person’s systolic will be less than 130 mm Hg, and their diastolic will be less than 80 mm Hg. Therefore, a person within the normal range does not require treatment.
-
Elevated
Systolic will be between 130 and 139 mm Hg, and diastolic will be between 80 and 89 mm Hg. This stage is also referred to as prehypertension. It is typically the time before transitioning to hypertension.
-
Stage 1 High
Systolic is between 140 and 159 mm Hg, and diastolic is between 90 and 99 mm Hg. Therefore, a person at stage 1 is in danger of various health complications due to moderate hypertension.
-
Stage 2 High – Hypertension
Systolic is at 160 mm Hg, or higher and diastolic is at 100 mm Hg or higher. At this point, a person’s hypertension would be classified as severe. This person may be at high risk of heart disease, heart attack or stroke.
Before Checking Your Blood Pressure
30 Minutes Before:
It is recommended that you do not consume caffeine before you check your blood pressure. Beverages such as coffee can give a false reading if your heart rate is elevated due to drinking caffeine. You should also aim to avoid exercise or smoking before a reading.
Body Posture:
Sit upright whilst you take your blood pressure. Do not slouch over or lay down. Do not cross your arms or legs.
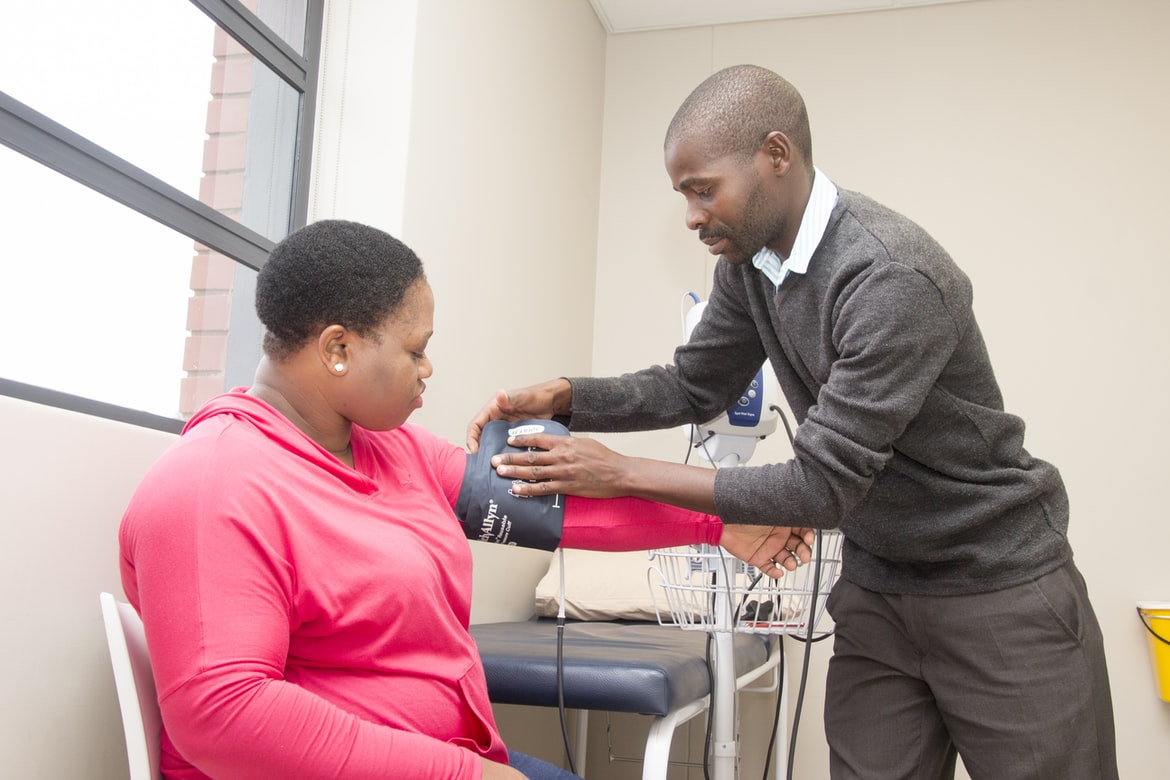
Cuff Size:
If you do not have the correct cuff size (covering around 80% of your upper arm), you may need to adjust the size before taking a reading. The proper size cuff will help to ensure it is not too tight or too big around your arm.
Most home monitors and cuffs have a size range on the cuff, so be sure to ask your medical provider if you are unsure. The best way to measure your upper arm is with a cloth measuring tape. Keep your arm relaxed, supported or hanging straight down.
Where To Buy A Blood Pressure Cuff
You can find a variety of high-quality reusable blood pressure cuffs and blood pressure monitor machines online. Sizes range from children to adults and come with a 12-month warranty. Look for manufacturers that are FDA approved and have been a respected healthcare company for over 20 years.
Step By Step Guide
Follow the steps below when fitting a blood pressure cuff:
-
Relax:
It is advised to remain calm and seated for around 2 minutes before checking your blood pressure. This will ensure an accurate reading.
-
Keep your feet on the ground:
Your feet should remain touching the ground, flat on the floor (not elevated or resting on a chair). Keep your arm at heart level by resting on the table beside you (do not elevate your arm).
-
Prepare the machine on the table next to you:
The blood pressure machine should be within easy reach so you can press start and see your results.
-
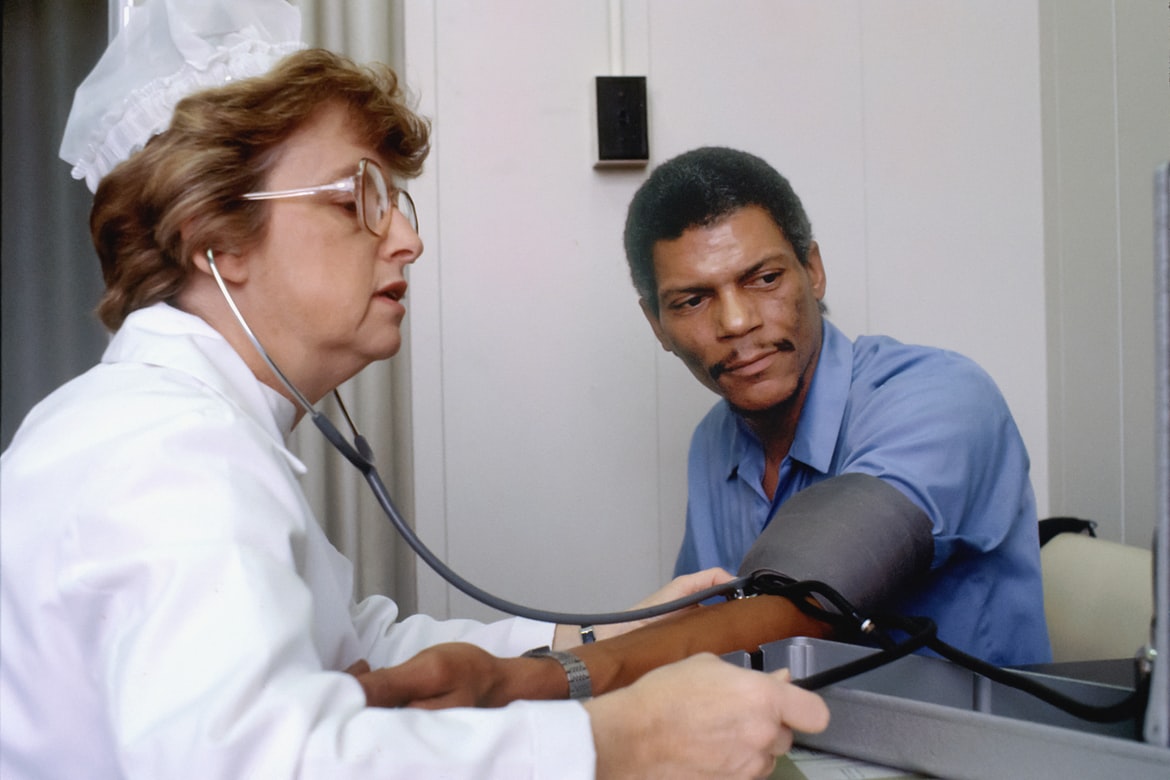
Place the cuff on your skin (not over clothing)
The cuff should be slipped over the hand and up the arm (around 1 inch from your elbow) and then secured. Do not tighten the cuff firmly on the skin. There should be a small space between your arm and the cuff as it will inflate.
-
Turn on the machine
Now you are ready to check your blood pressure – simply turn on the machine, press the start button, and wait for it to inflate the cuff automatically. The cuff will then start to deflate by releasing the air slowly – you do not need to do anything but sit still and wait.
-
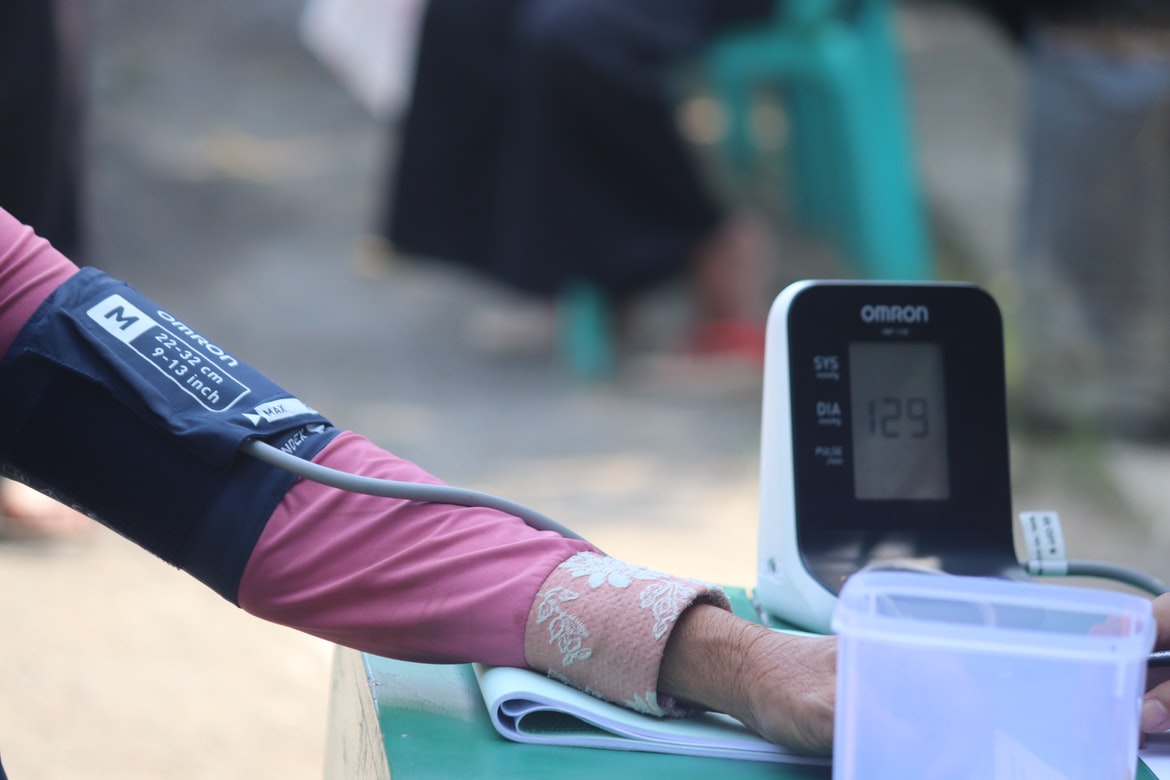
Check the screen for your reading:
Take note of the two numbers displayed; they represent your systolic and diastolic pressures. Systolic pressure is listed before the diastolic pressure – for example, 120/80.
Final Thoughts
By following the steps in the guide, you will have no difficulty reading your blood pressure. However, it is advised that you check your blood pressure over multiple sessions (2-4) to average out your ‘true blood pressure reading. Then, take note of each reading by writing your blood pressure in a journal. Tracking your blood pressure can better help diagnose any heart health concerns when you consult with your doctor.
If you are unsure which blood pressure cuff is right for you – contact (add client) and (call to action) today.
It is essential to take a high blood pressure reading as a possible medical emergency. You should go to the hospital for blood pressure if, after the second time, either number is higher than 180/120 and you are experiencing any of these symptoms:
- Chest Pain
- Shortness of Breath
- Back Pain
- Numbness/Weakness
- Difficulty Breathing
- Change In Vision
To learn more about how to use a blood pressure cuff, read this article, titled Guide To Correctly Using A Blood Pressure Cuff, by Sensoronics.